
This page was put up because morel mushrooms could NOT be grown period. The secret to cultivating this variety of mushroom eluded mankind for hundreds of years until in 1982 Ron Ower succeeded. Years later, under pressure from venture capitalists Ron was awarded two patents, along with G.Mills and J.Malachowsky for the cultivation of Morchella esculenta, the Yellow or White Morel (Ower et al., 1986 & 1988).
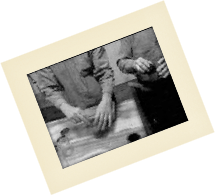
Step 1.
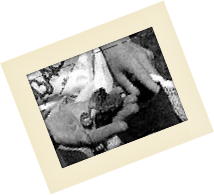
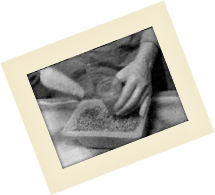
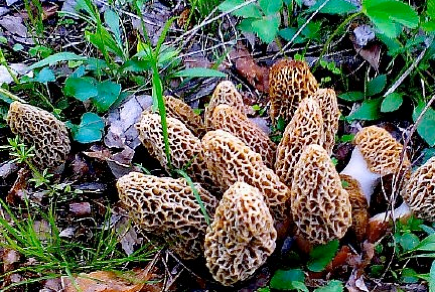
Morels are gathered in the woods. Typically this occurs in the early Spring. They can be very elusive, but look under the corners of downed trees, in thick leaves, and in areas recently burned by forest fire.
Step 2.
Keep the morels fresh as best you can by keeping them in a bag or box in the field, then refrigerating them when you get home.
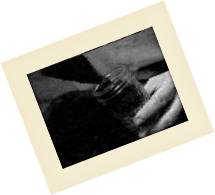
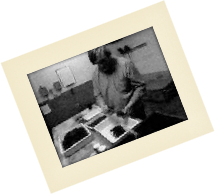
Step 3.
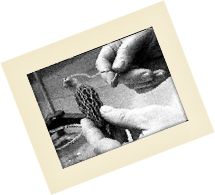
In a clean area (preferably under a HEPA hood), use a sterile (heat / alcohol treated) paper clip to pierce the stem of a healthy looking mushroom.
Step 4.
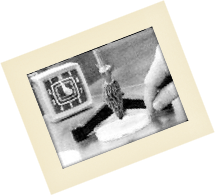
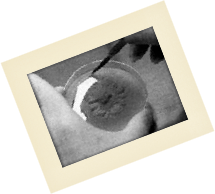
Hang the mushroom by the paperclip over a freshly prepared petri dish. Petri dishes, agar mix and agar preparation instructions can be ordered from various suppliers.
Step 5.
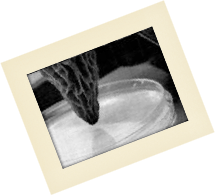
Let the morel drip its spores onto the petri plate as you gently work it with your fingers. If you don't see spores falling, just leave the mushroom hanging over the agar.
Step 6.
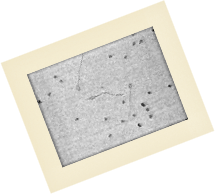
Cover and seal the agar plate and store it ( at 12.5 - 26.5°C [55 - 80°F] ). You can invert it to prevent moisture from building up on the lid. After a period of from a few hours to a few days, the spores will begin to send out their first mycelial strands into the agar.
Step 7.
The strands will form a web, and then grow vigorously, extending over the entire plate. For maintaining rapid growth as we transfer to new media, the most valuable portion is the outer, leading edge where thin strands are extending most quickly.
Step 8.
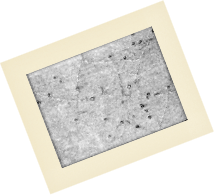
When the plate is fully colonised, you can either transplant sections into fresh agar, thereby propagating the culture indefinitely, or you can inoculate grain media with sections of the mycelia you cut from the plate, using a sterilised (alcohol and heat treated) razor knife. Resterilise the knife after each transfer.
Step 9.
A good grain medium is annual rye grass seed. Other grains such as rape seed, hemp seed, birdseed, and rice will work. Cover grain with water and soak for 24 hours.
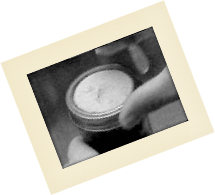
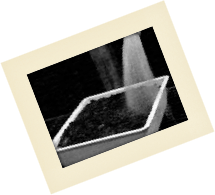
Step 10.
Drain and mix with potting soil, 1 part potting soil to 5 parts grain. Place 2 cups of this medium into a 1 quart regular canning jar. (Sorry, the pictures are of a pint jar!)
Step 11.
Fit with filter disc and ring and sterilise for 1 hr at 15 psi in an autoclave/pressure cooker/pressure canner.
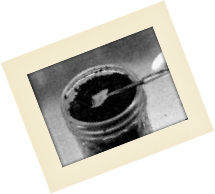
Step 12.
Clean your work surface with 5% bleach, use a laminar flow hood, if possible. Remove filter disc from jar and quickly add a few small pieces of agar cultured mycelium with a flame sterilised scalpel. Replace filter disc. Cover the filter disc loosely with foil to prevent drying of the culture. Resterilise your scalpel after each transfer.
Step 13.
Shake the jar to thoroughly mix the mycelium. Place the jar in a cool ( 20 - 21.5°C [68 - 71°F] ), dark place for approximately 4 - 6 weeks. Good growth will be indicated by whitish strands of mycelium growing through the medium. At about 5 weeks, small aggregates of white to rust coloured mycelia sclerotia will form.
Step 14.
After the sclerotia are visible within the jars, prepare some clean trays to receive the mixture for fruiting. Construct a fruiting room where temperature, humidity, light and fresh, filtered, air can be precisely controlled. The Mushroom Cultivator by Stamets and Chilton has excellent ideas on growing rooms.
Step 15.
Make a fruiting substrate mix of 20% sand, 30% potting soil, 50% organic material composed of 80% small hardwood chips (ash, oak, maple, beech, elm, apple, etc.), 10% rice hulls, 5% soybean meal, 5% sphagnum, and a small amount of lime (the mineral, not the fruit) to bring the pH to 7.1 - 7.3. Mix well.
Step 16.
Fill an autoclavable aluminium 9-1/4 X 9-1/4 X 2-1/2 inch tray (i.e. cake pan) or plastic dishpan (liberally punched with drainage holes) to a depth of 2 inches with substrate.
Step 17.
Saturate substrate thoroughly with water. Allow to drain completely. Fill a second, identical tray with soaked, drained rye grass seed to a depth of 1/2 - 1 inch. Set substrate tray into rye seed tray so that the bottom of the substrate tray rests on the rye seed. Place the prepared trays inside an autoclave bag (oven cooking bags seem to work well) fitted with a filtered closure and sterilise at 15 psi for at least one hour.
Step 18.
In a clean (use 5% bleach to clean up) draft- free area (laminar flow hood recommended) open cooled substrate bag and mix ca. 1/2 cup spawn into substrate using a flame-sterilised spoon. Reclose bag and place in a cool ( 18 - 21°C [65 - 70°F] ) dark place for 4 - 6 weeks. During this period (the spawn run) the relative humidity should be kept at 90 - 100%, CO2 at 6000-9000 ppm, and no fresh air exchanges.
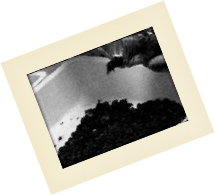
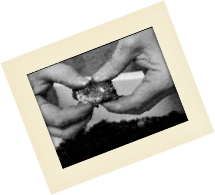
Step 19.
After 4 - 6 weeks, the surface of substrate should be covered with sclerotia. The hard sclerotia lumps are the secret to growing morels. These are the "seeds" of your mushrooms. Keep unused spawn refrigerated at 3.3 - 4.4°C [38 - 40°F]. Spawn is viable for up to a year, under optimal conditions.
Step 20.
CHILLING (a necessary step): After spawn run, remove rye seed tray from bag, reclose, and place bagged substrate tray into refrigeration ( 3.3 - 4.4°C [38-40°F] ) for two weeks.
Step 21.
Remove bagged tray from refrigeration. Remove substrate tray from bag and place in fruiting chamber or room. Slowly saturate substrate with sterile ( 18 - 21°C [65 - 70°F] ) water at a rate of 1.5 - 2.5 fluid ounces/hr/square foot of substrate surface area for 12 - 16 hours. Allow substrate to drain completely (for about 24 hours).
Step 22.
CASING (optional): Layer casing soil evenly to a depth of 1/2". Allow 7-10 days for mycelium to run through the casing. Air temp 18 - 21°C [65 - 70°F]. Filtered fresh air exchanges at 1 to 2 per hour. Keep dark.
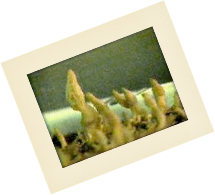
Step 23.
Primoridia will form in 3-7 days. Substrate moisture 60%, relative humidity 95 - 100%, air temp 21 - 22.7°C [70 - 73°F], filtered fresh air exchanges 6 - 8/hr. Light cycle 12 on / 12 off (grow lights). Keep CO2 less than 900 ppm.
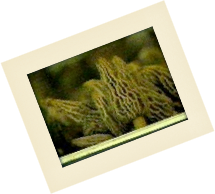
Step 24.
FRUIT BODY MATURATION: Substrate moisture 50%, relative humidity 85 - 95%, air temp 22.7 - 25°C [73 - 77°F]. Filtered fresh air exchanges 6 - 8/hr. Light cycle 12 on / 12 off (grow lights). Keep CO2 less than 900 ppm.
Step 25.
You can also grow outdoors using sawdust spawn. Plant Spring through Fall. Inoculated area must be kept moist during hot, dry periods. Plant under the type of trees where you find morels in your area, i.e. ash, oak, maple, beech, elm, old apple orchards, etc., in your garden with perennials such as Jerusalem artichoke or asparagus.